After hearing about all the exciting updates in the 8.X release of Lifecycle manager I had to finally give it a try. Having never used Lifecycle Manager in the past I was quite impressed with it. Not only was it fairly easy to stand up, but the GUI is great! It provides a simple interface to install and manage your other vRealize products. I was able to easily pull in my already installed instance of vRealize Operations and deploy a new vRealize Network Insight Manager very easily. I’m excited to try the ongoing maintenance capabilities and expansion of the various products. By not having to deploy each vRealize product, which in the case of some (vRA) is quite labor intensive, it should drastically reduce the management required and allow admins to focus on more important tasks.
Rather than repeat what is already covered very well by VMware check out these links for specifics of the new features.
What’s New in vRealize Suite Lifecycle Manager 8.1
vRealize Suite Lifecycle Manager 8.1 Release Notes
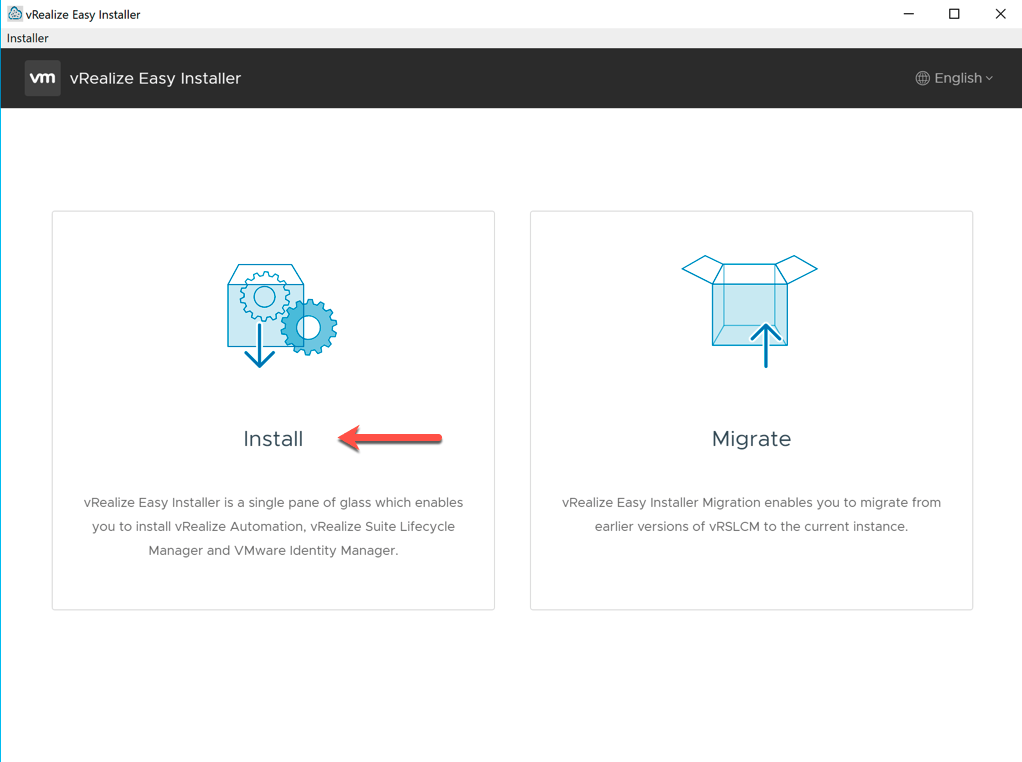
From the Installer click Install.
The Introduction screen gives a quick overview of the key features of Lifecycle Manager. Click Next to get started.

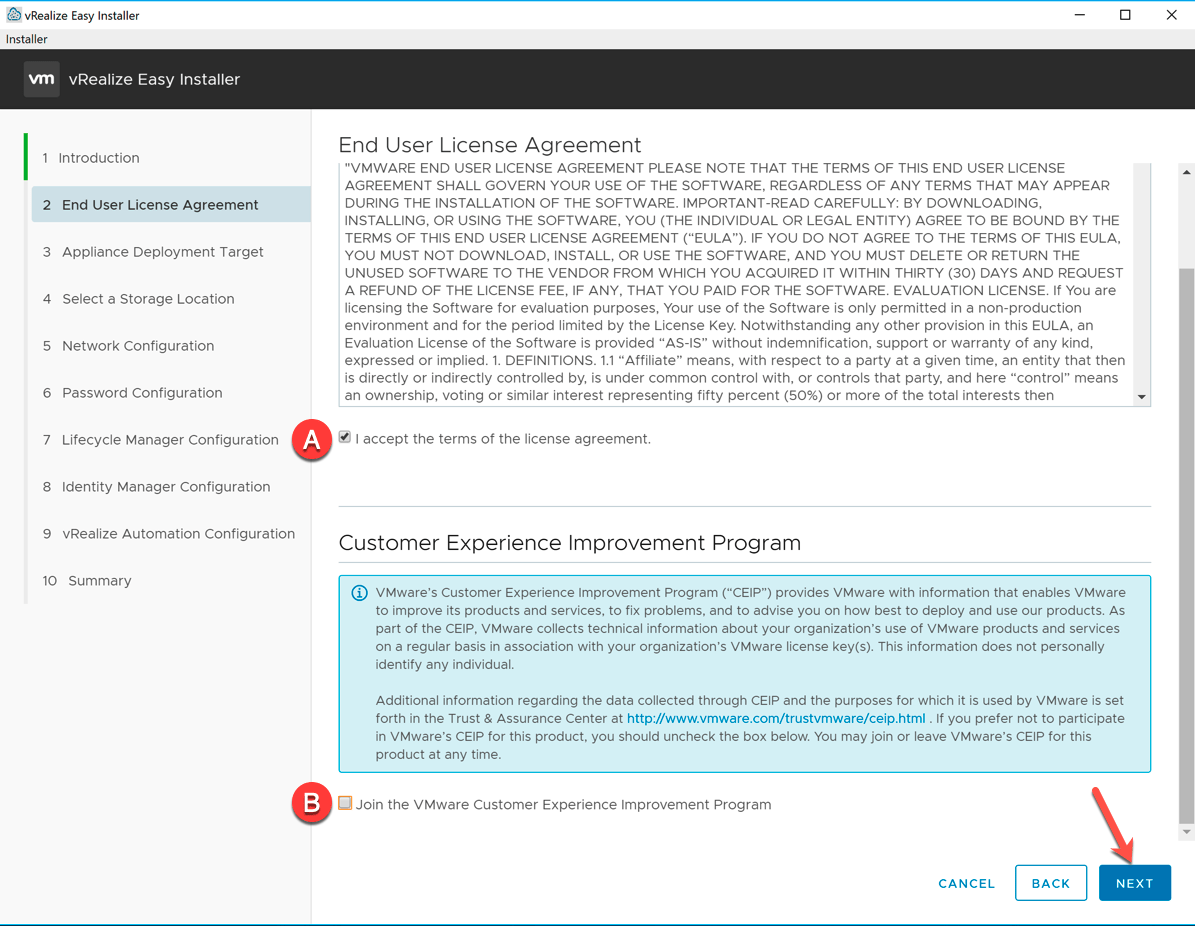
Take a look at the License Agreement and be sure to Accept (A) it using the check box. Optionally you can Join the VMware Customer Experience Improvement Program by checking the box (B) at the bottom of the page. Note: I did not select this option. Click Next to continue.
On the Appliance Deployment Target you need to specify the vCenter Server where you will be deploying your Lifecycle Manager Appliance. You’ll need to specify the vCenter Server Hostname, HTTPs Port (443), Username, and Password of an account within vCenter with the appropriate permissions. If you need to determine what those permissions are there is a link within the installer. In my lab I simply used the local vSphere administrator, but in production you would want a dedicated service account. Interestingly the installer had an IP address entered for the vCenter Hostname and I’m not sure it pulled this from. Just be sure to remove it and enter the proper Hostname(FQDN). Click Next once you complete the fields.

In my lab I have default self-signed certs and therefor received a Certificate Warning after clicking Next. Simply Accept the warning to continue.

On the Select a Location screen you need to select the location within your vCenter where you would like the Lifecycle Manager Appliance to be deployed to. In my lab that is the single Datacenter (A) seen below. After selecting it click Next (B).

On the Select a Compute Resource screen you need to select the resource that the appliance will run on. In most cases this will be a cluster and in my lab I selected my Physical Cluster (A) resource as you see below. Click Next (B) after making your selection.

On the Select a Storage Location screen you will need to select the Datastore (A) where you would like the Lifecycle Manager appliance to live. Optionally, and typically recommended, you can select the Enable Thin Disk Mode (B) to set the Lifecycle Manager disk to be thin provisioned on the storage. Click Next (C) to continue.

On the Network Configuration screen define the networking settings for the Lifecycle Manager Appliance. This includes (A) the VM Network (vDS or vSS), IP assignment (DHCP or Static), Subnet Mask, Default Gateway, DNS servers (comma separated if multiple), FQDN of the new appliance, and an NTP server. Once complete click Next (B). Note: You define the IP later when static is selected.

On the Password Configuration screen you need to define the Password that will be used for the Lifecycle Manager root and admin passwords. If you are installing vRealize Automation and Identity Manager this password can also be used for those products as outlined. Clicking the (i) next to the Password will outline the complexity requirements for the password. Click Next to continue.

On the Lifecycle Manager Configuration screen enter the host name you want for the Lifecycle Manager Appliance (short-name). Then enter the IP address for it followed by FQDN. Optionally you can enter a Data Center Name, vCenter Name and Disk Size increase value. Click Next to continue.
Note: In my lab I renamed the Data Center Name. This typically represents a physical location. I chose not to change the vCenter Name, but afterwards realized it would have made sense to name it the same as the vCenter server (short-name). I left the Disk Size default. Later I had to increase it when uploading packages for software deployments. If you plan to store installation files locally for all the various vRealize products you may need to increase it, but it is very easy to do afterwards from the Admin portal.

For reference here is what those option names look like afterwards from the Livecycle Manager portal.

On the Identity Manager Configuration screen you can choose to install Identity Manager or skip it (A). It’s easy enough to add later as well, but I chose to install it since I want to use vIDM for other vRealize products later. You can also choose to import an existing vIDM and manage it through Lifecycle Manager as opposed to a new one (B).
Since I’m creating a new instance of vIDM I had to enter a VM Name for the vIDM appliance, IP address for it, as well as the FQDN. You also enter a default user name which will be used while integrating products with vIDM later. I kept it simple with administrator. I also chose to sync my user groups (C) since I have a small lab, but in production you may want to consider what is appropriate for your environment. Click Next once you’ve made your selections.

On the vRealize Automation Configuration screen you can choose whether you want to install vRA or skip it and do it later (A). If you are installing it as you see in my screenshot you need to decide if you are performing a Standard or Cluster Deployment. I’d recommend you refer to the vRA documentation for guidance if you are unsure. For my lab I’m keeping it simple with a Standard Deployment (B). You will need to provide an environment name for the vRA instance as well as a License Key. There appears to be no option to do a trial when deploying through Lifecycle Manager. For the actually vRA appliance that gets built provide a VM name (short-name), IP address, and FQDN. When ready click Next.

Finally review the Summary page and when ready click Submit.

You will see the installer run through several phases and it does take a bit of time. My lab is not a good judge of time due to some slow storage. I also had a failure of my vRA deployment, but Lifecycle Manager and vIDM successfully installed in under an hour or so.

Here it is complete, but with a vRA failure. You can use the link provided to hit the management page or manually enter your Lifecycle Manager FQDN into a web browser.

Using the password you initially set through the installer for Lifecycle Manager enter Admin@user for the local username and click Login.

You should see the My Services dashboard.

Clicking on Lifecylce Operations you will see your environment and can start managing the various vRealize products. Hopefully you don’t have a failed vRA install like you see in my screenshot.

Thanks for following along and hopefully this helps outline the install of vRealize Lifecycle Manager 8.1. Now time to dig into the product.