
The following is a walk through of the steps necessary to install VMware vRealize Network Insight (vRNI) 5.3 on-premises utilizing the OVAs. It may look like a lot of steps, but it’s rather simple and quick. I chose to include full screenshots for reference in case anyone finds them helpful.
Alternatively install vRNI with Lifecycle Manager
If you have VMware vRealize Suite Lifecycle Manager in your environment you could simplify things and utilize Lifecycle Manager to deploy vRNI. I recommend this if you own Lifecycle Manager as it consolidates some of the management and allows for an automated approach to the vRealize Suite. You also avoid having to console into the appliances to set up the network. If you own Lifecycle Manager and have not installed it yet check out my other post here that covers the installation.
Prerequisites
You may want to review the official documentation which can be found here. For reference here are the release notes.
As always be sure to check the VMware Interoperability Matrix and the vRNI requirements to ensure compatibility and support.
You will need to have a valid vRNI license key to complete the installation. If you are performing a trial or Virtual Network Assessment (VNA) you should have received a trial license as a part of the registration process. If not register here.
Download vRNI 5.3
To start download the 2 OVAs for vRNI from your My VMware download portal. Below is a screenshot of what you’re looking for.
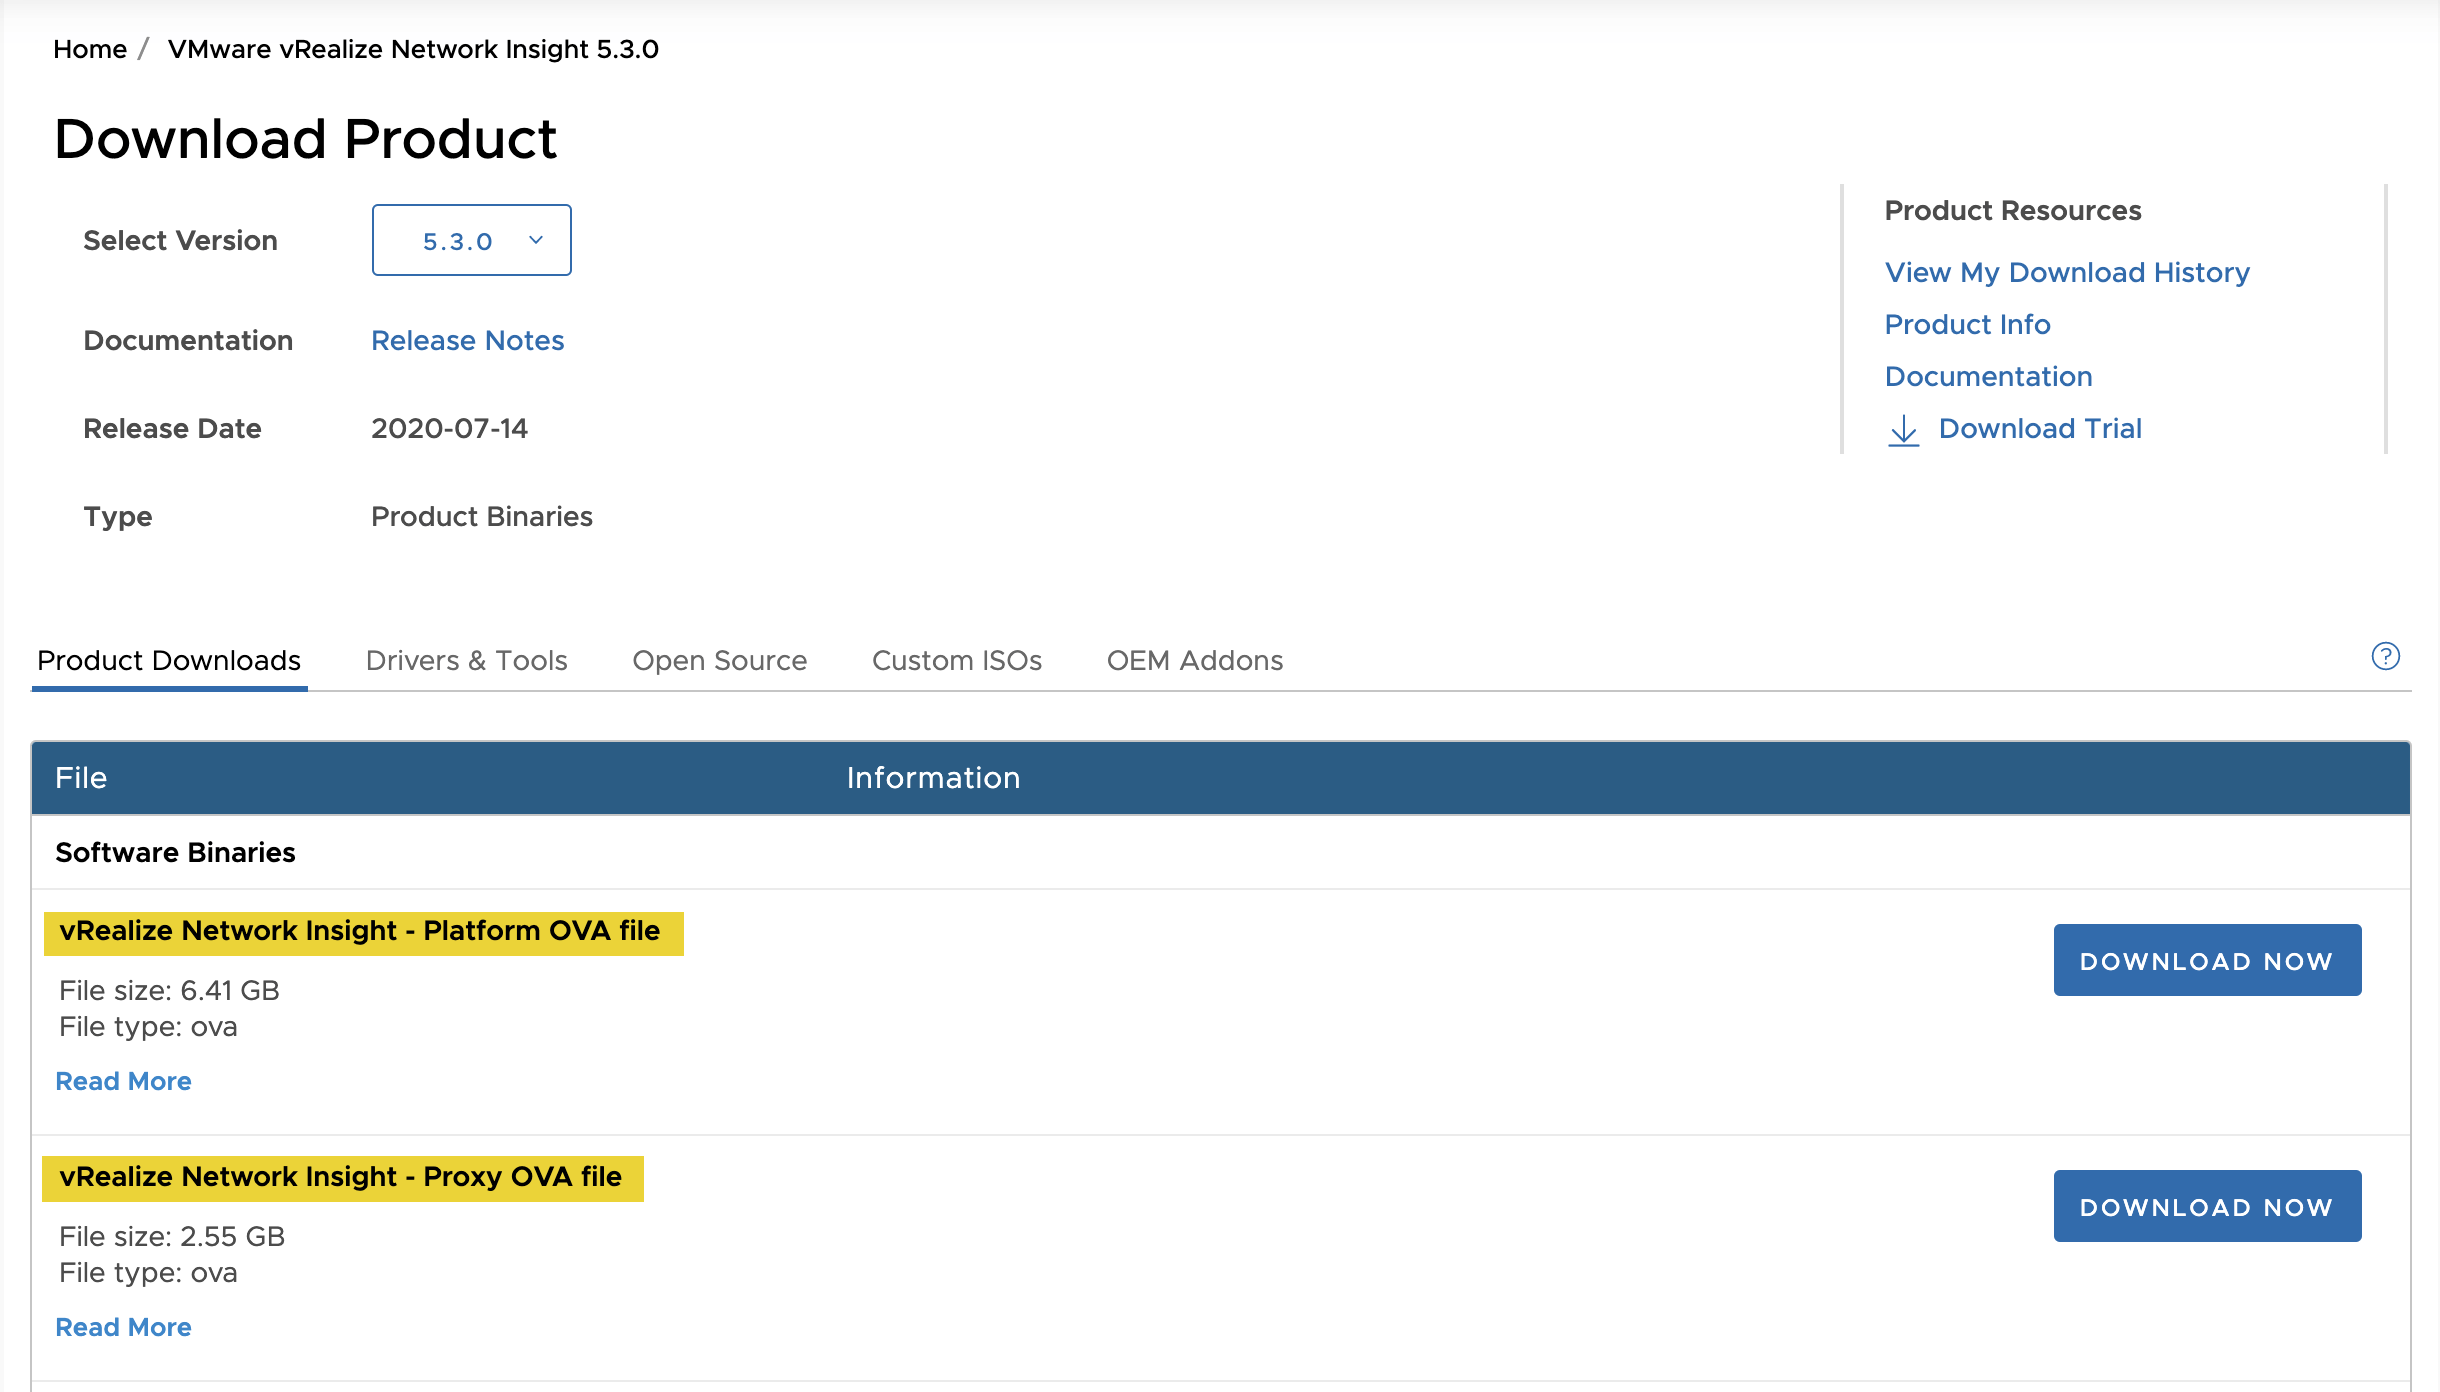
You will need both OVA files because vRNI is made up of 2 appliances. The first is the Platform Appliance which is the one you interact with to view the dashboards. The second appliance is the Proxy or Collector VM. You may notice the download calls it the Proxy, but most documentation refers to it as the Collector VM. This performs the data collection from various sources. The Platform VM is deployed first.
Installing vRNI Platform VM
The first thing I like to do with any appliance installations is to ensure I created DNS entries for them so that any checks performed during the install will be successful and not hold anything up. Be sure to do that now.
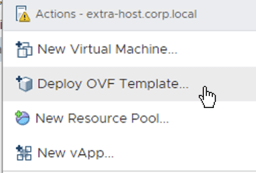
To start the install login to your vCenter where you would like to deploy vRNI. From within vCenter right click on a host or cluster where you want the appliance to live. Select Deploy OVF Template.
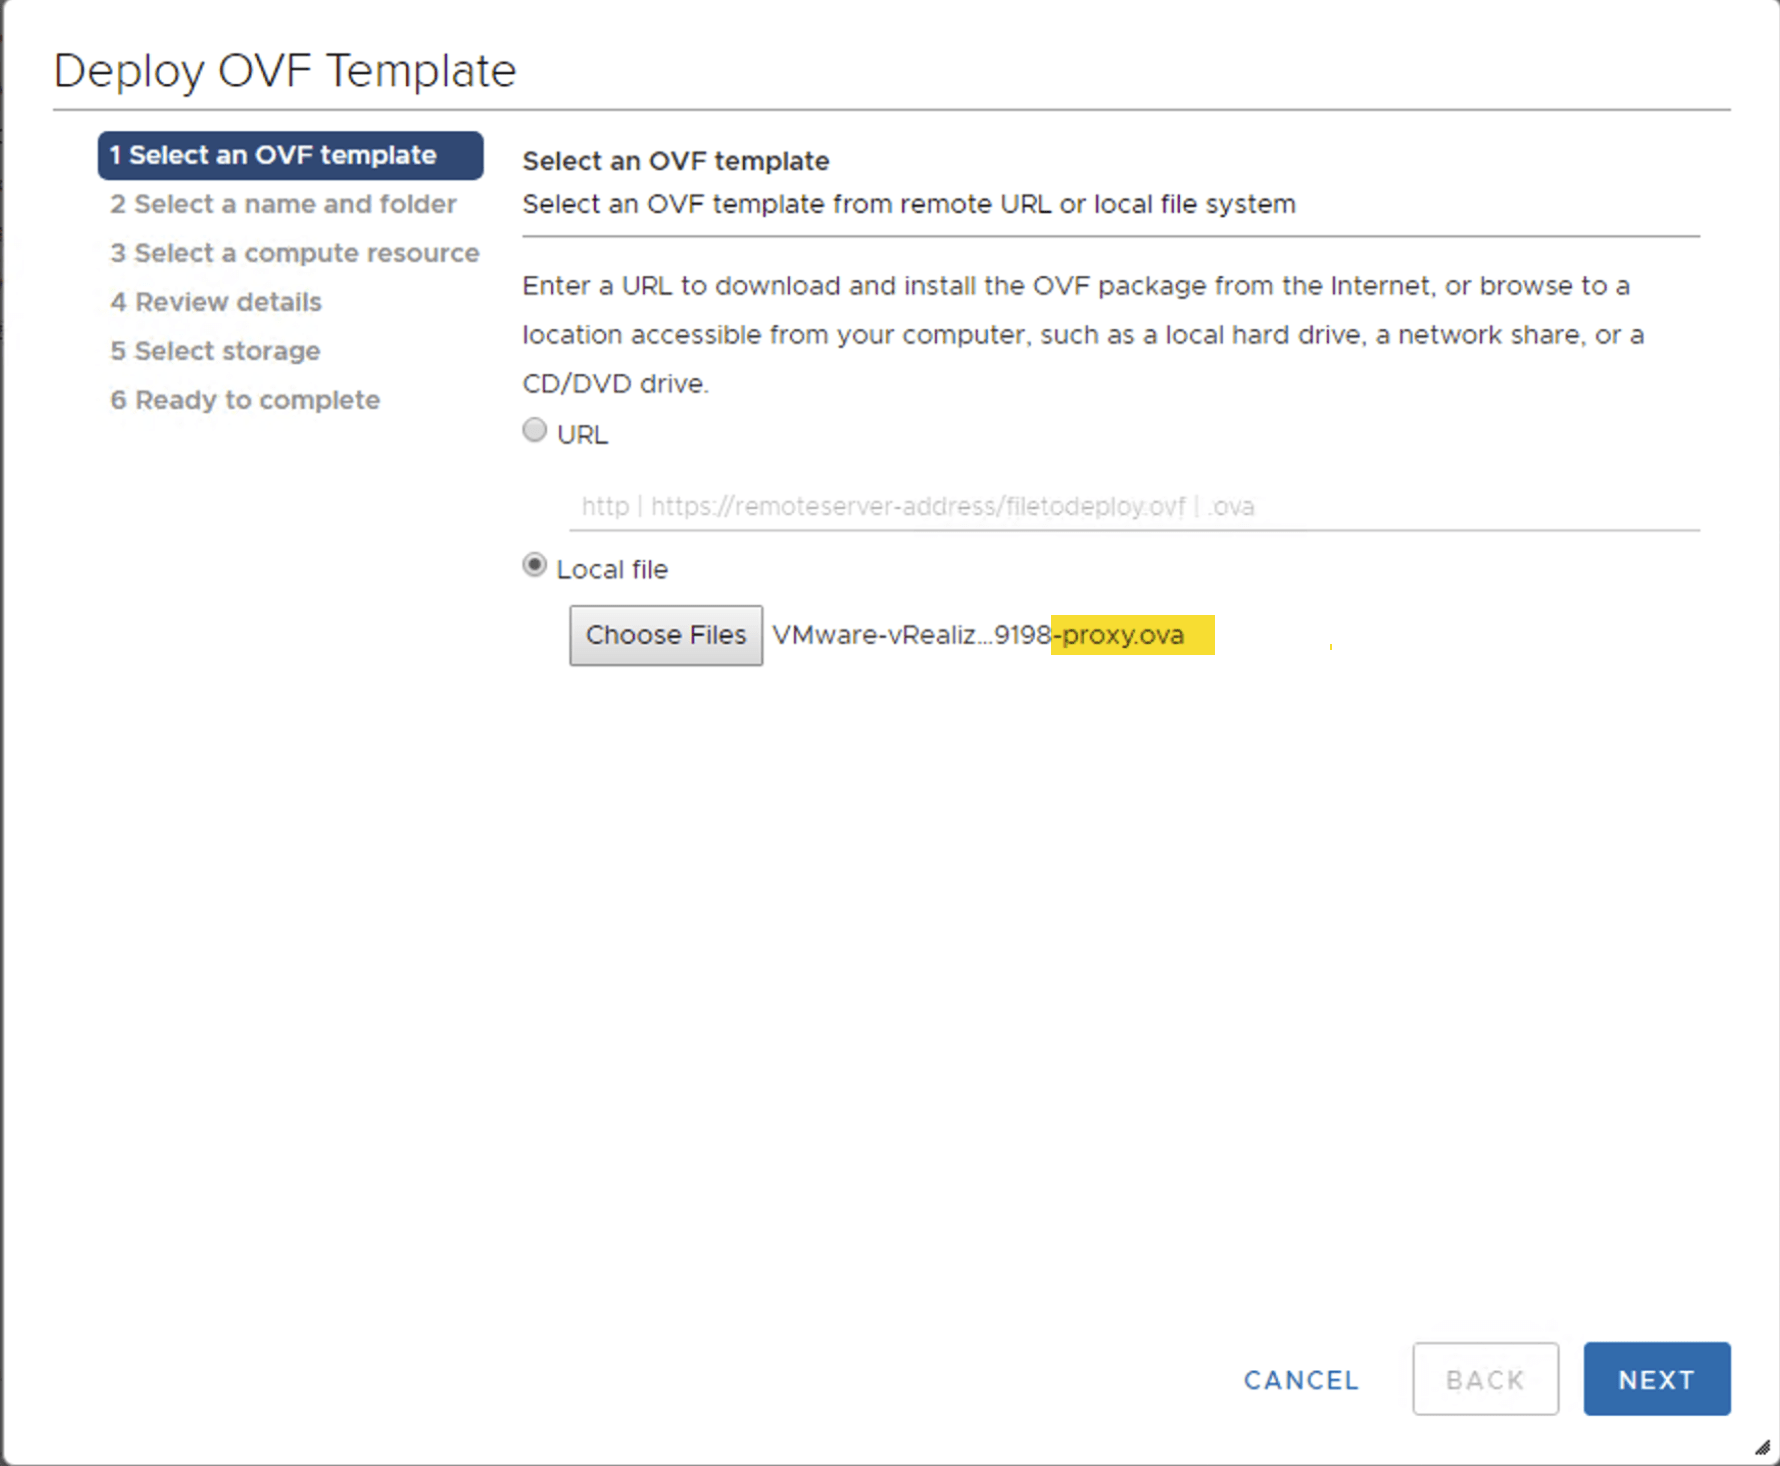
Change the selection to Local files and then click on Choose Files.
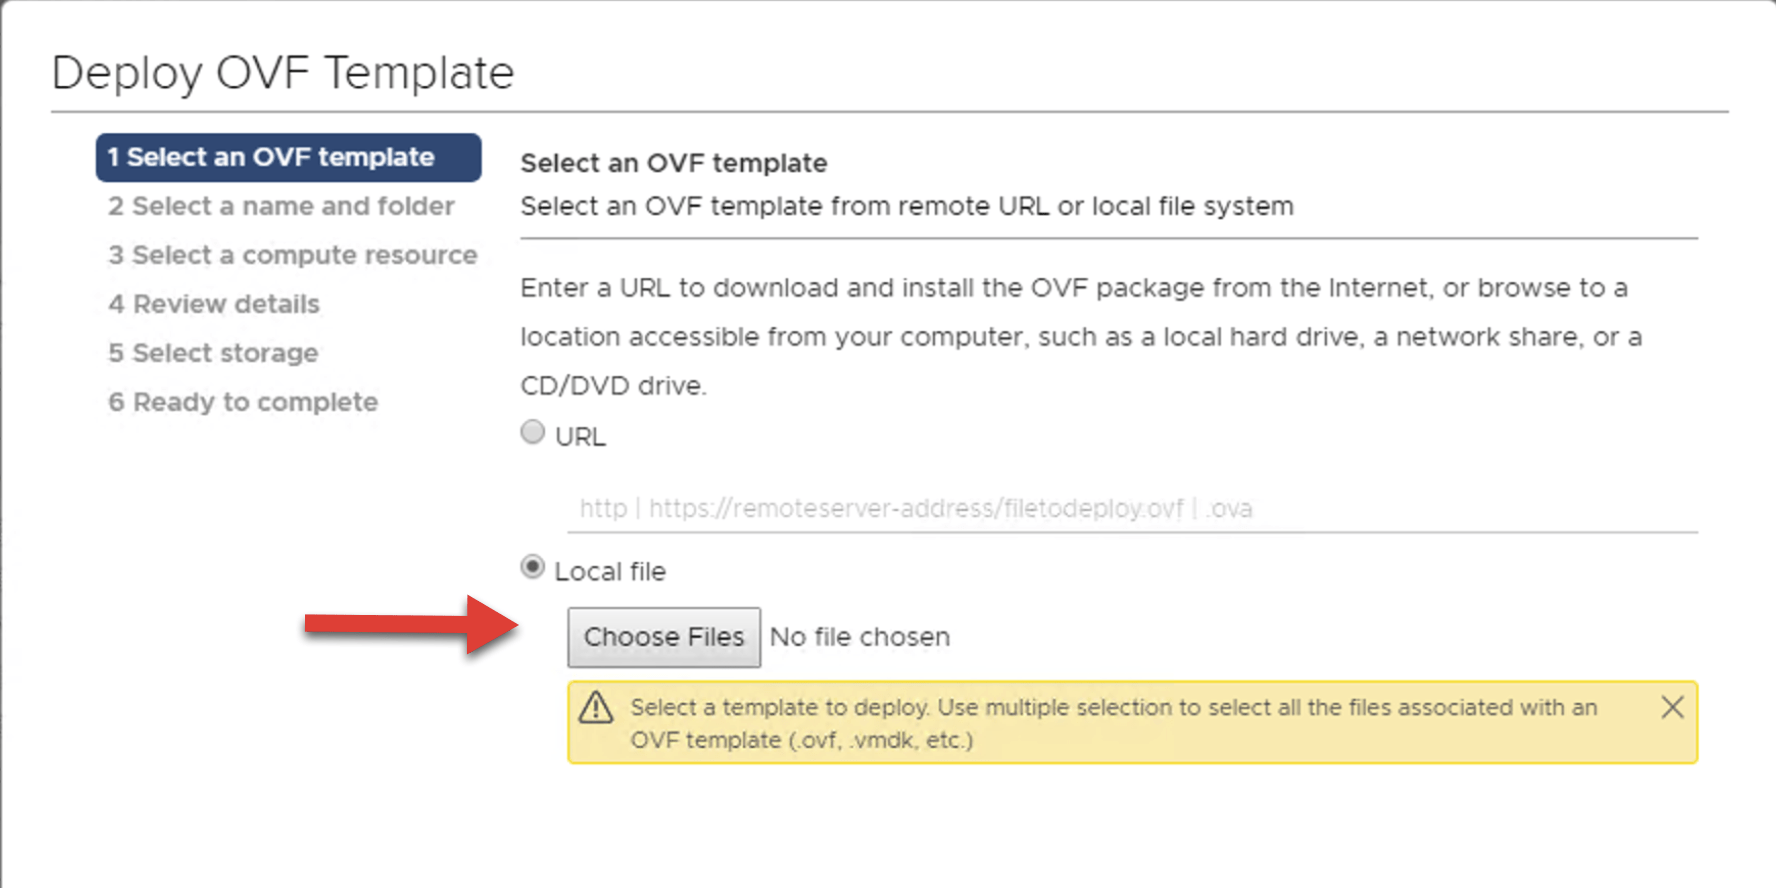
Locate the Platform ova previously downloaded. Click Open.

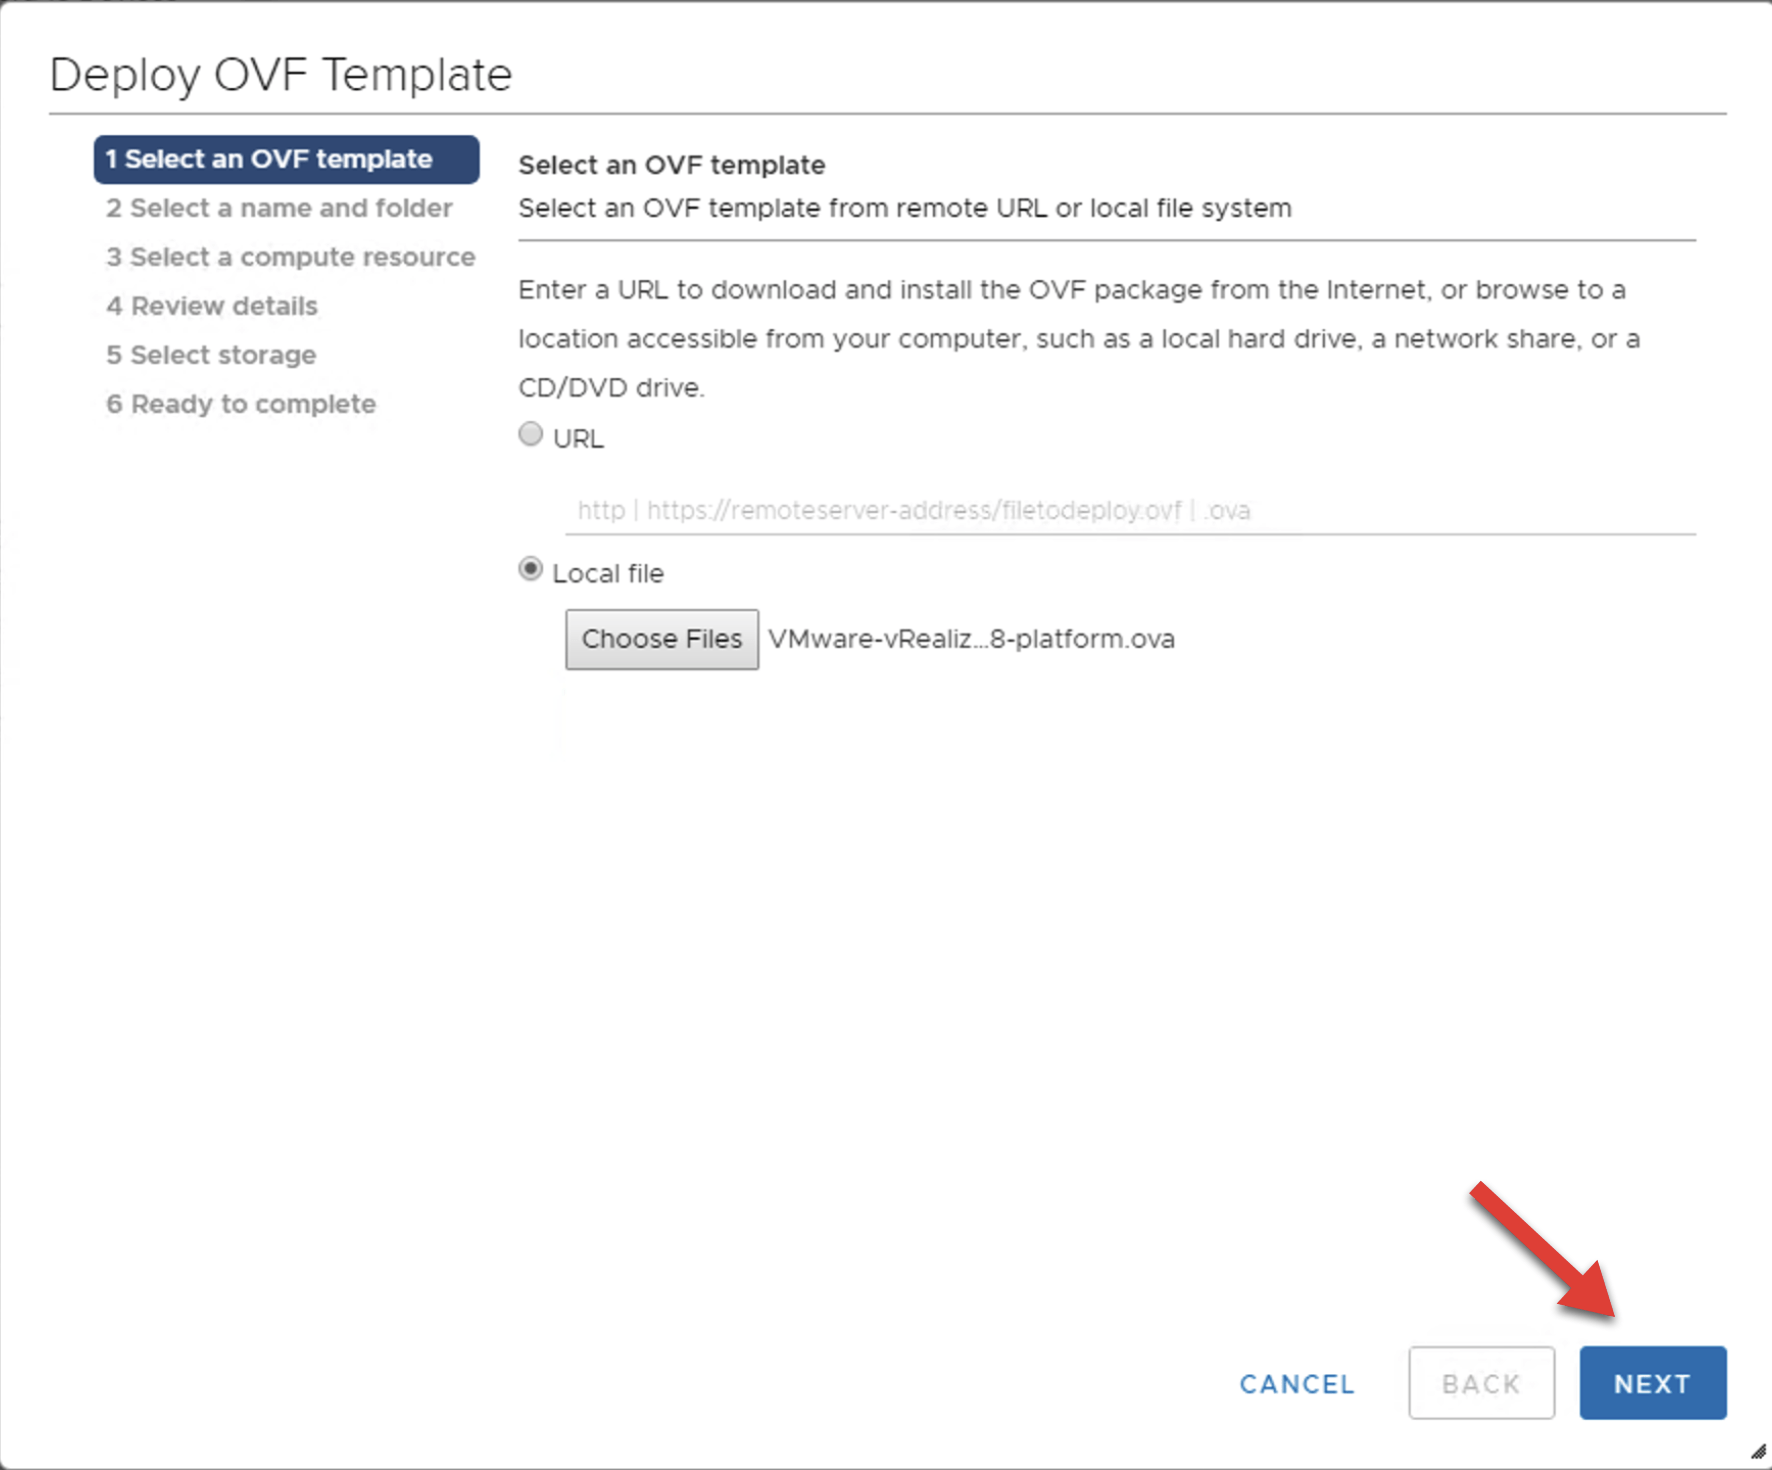
Back on the OVF Deploy wizard click Next.
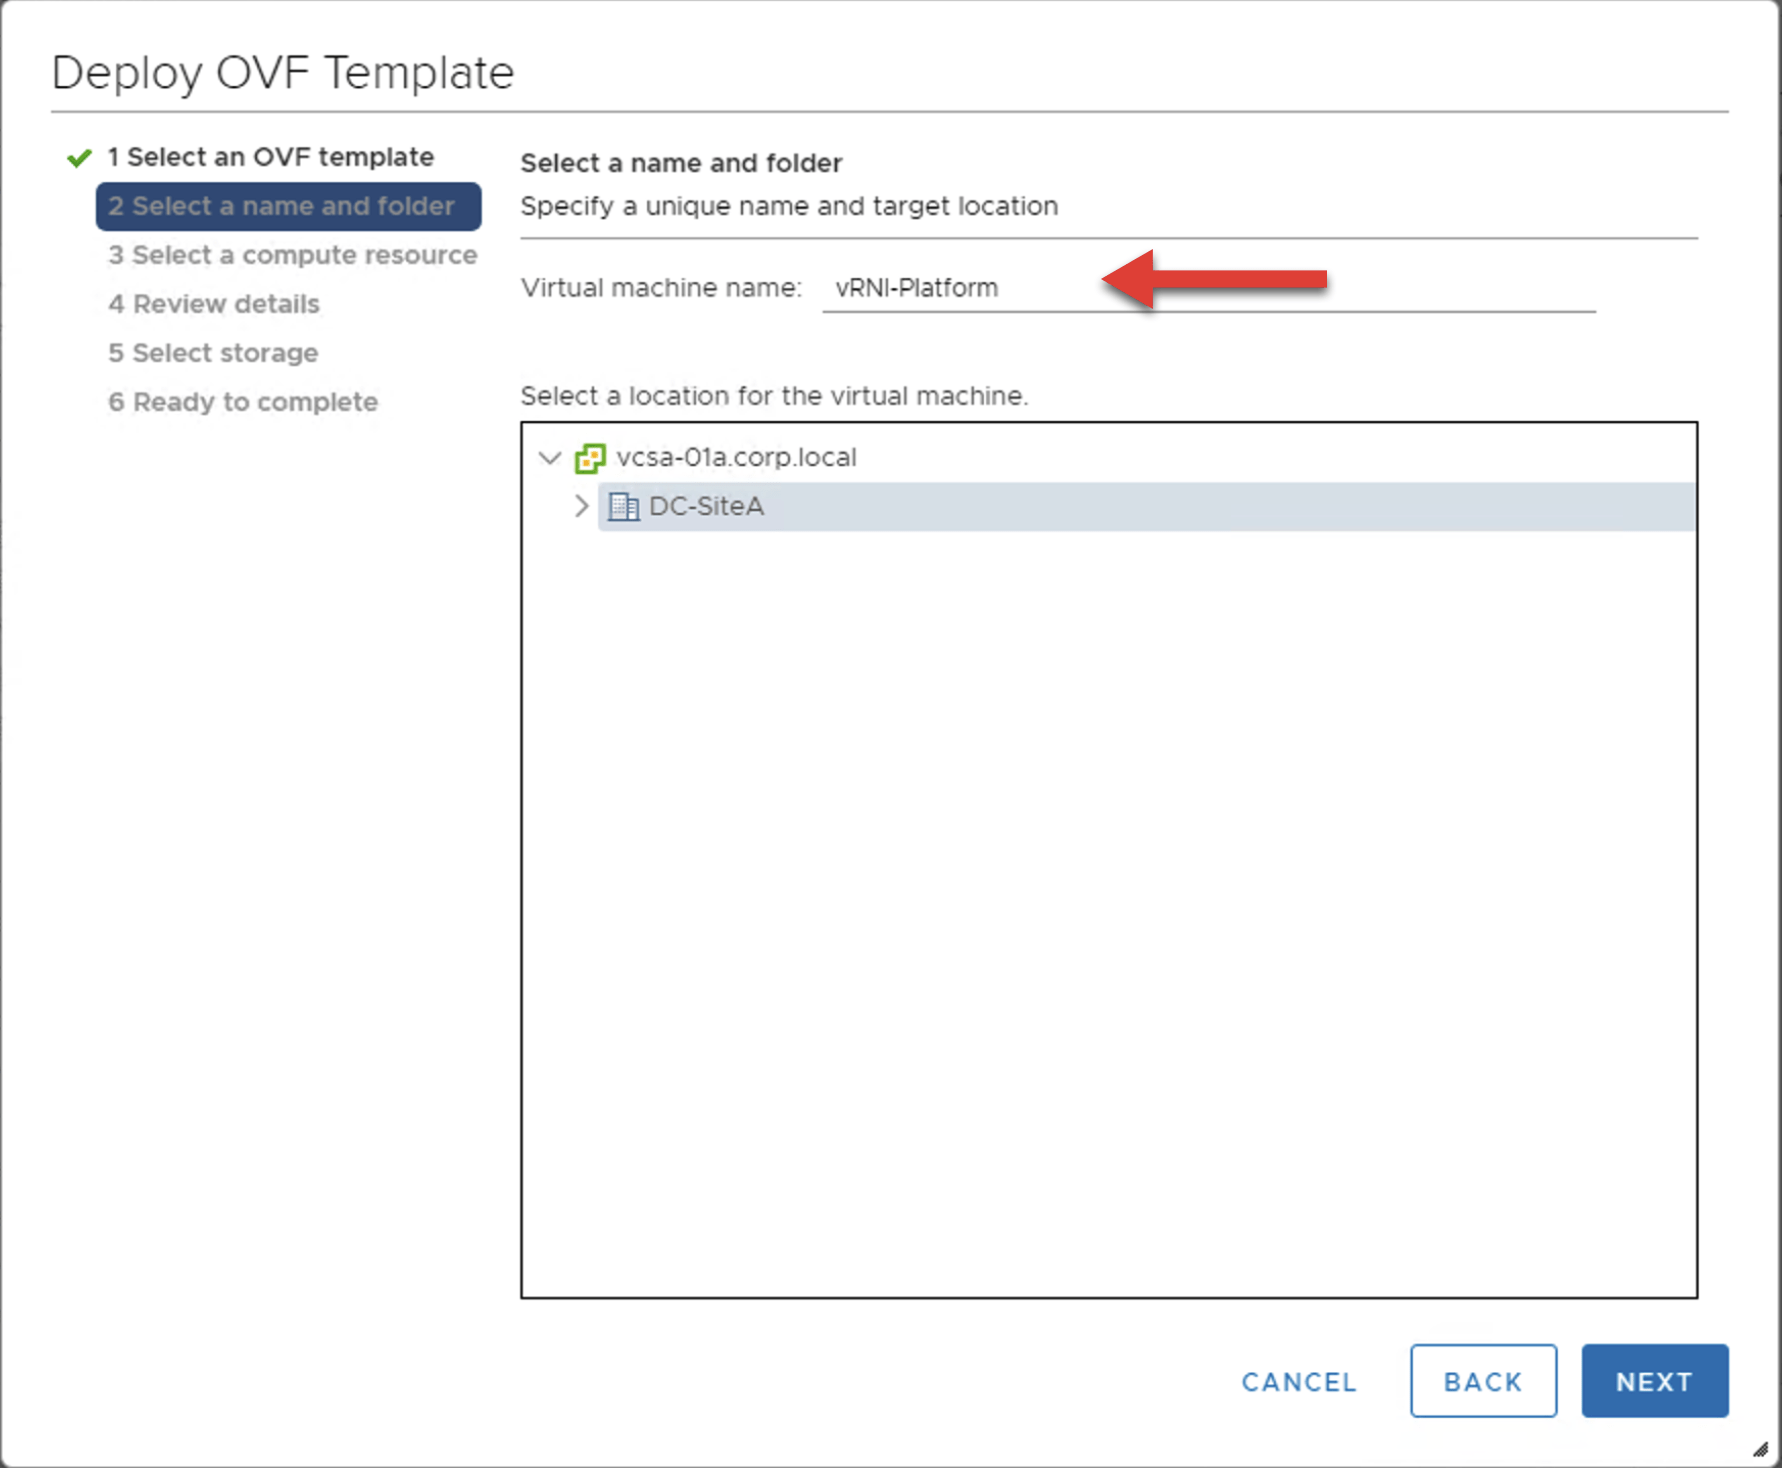
Next, set a name for the Platform VM and select the Location within your vCenter to deploy the VM to. The installer pre-populates a name, but it’s rather long so I would change it to fit your naming scheme. Click Next when complete.
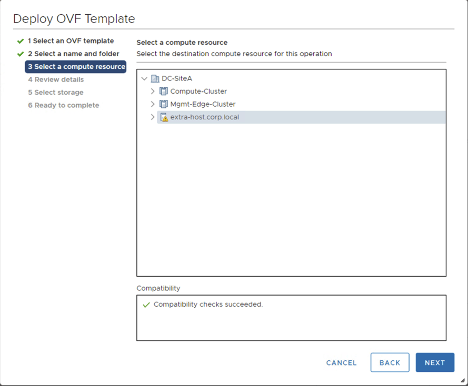
Select the compute resource (host or cluster) where the new Platform VM should be deployed. Click Next after your selection and Compatibility checks succeed.

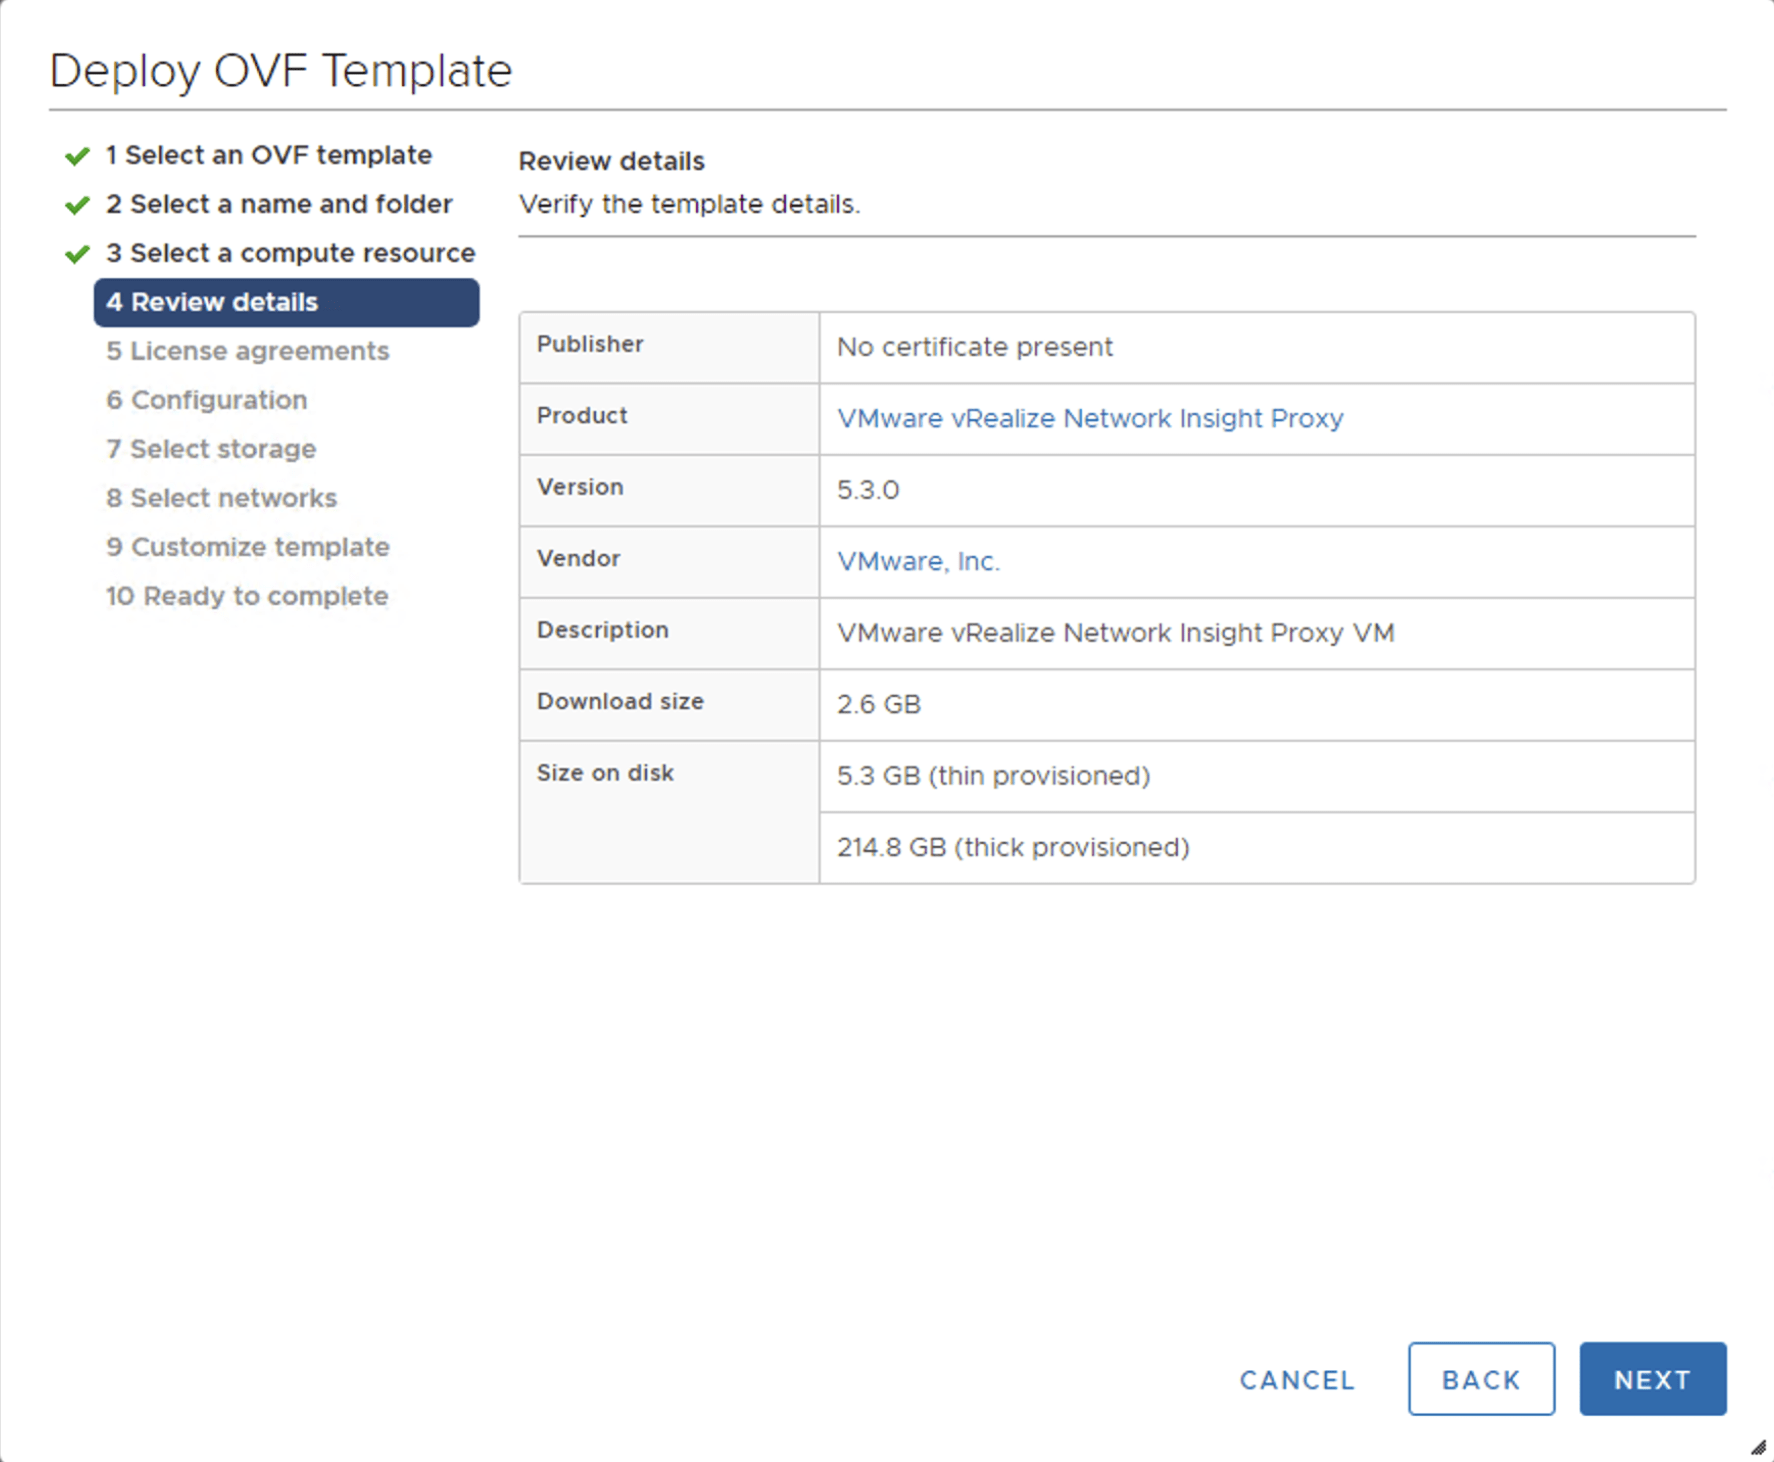
On the Review Details page you should just be able to click Next if all looks good.

You’ll need to accept the license agreement before clicking Next.

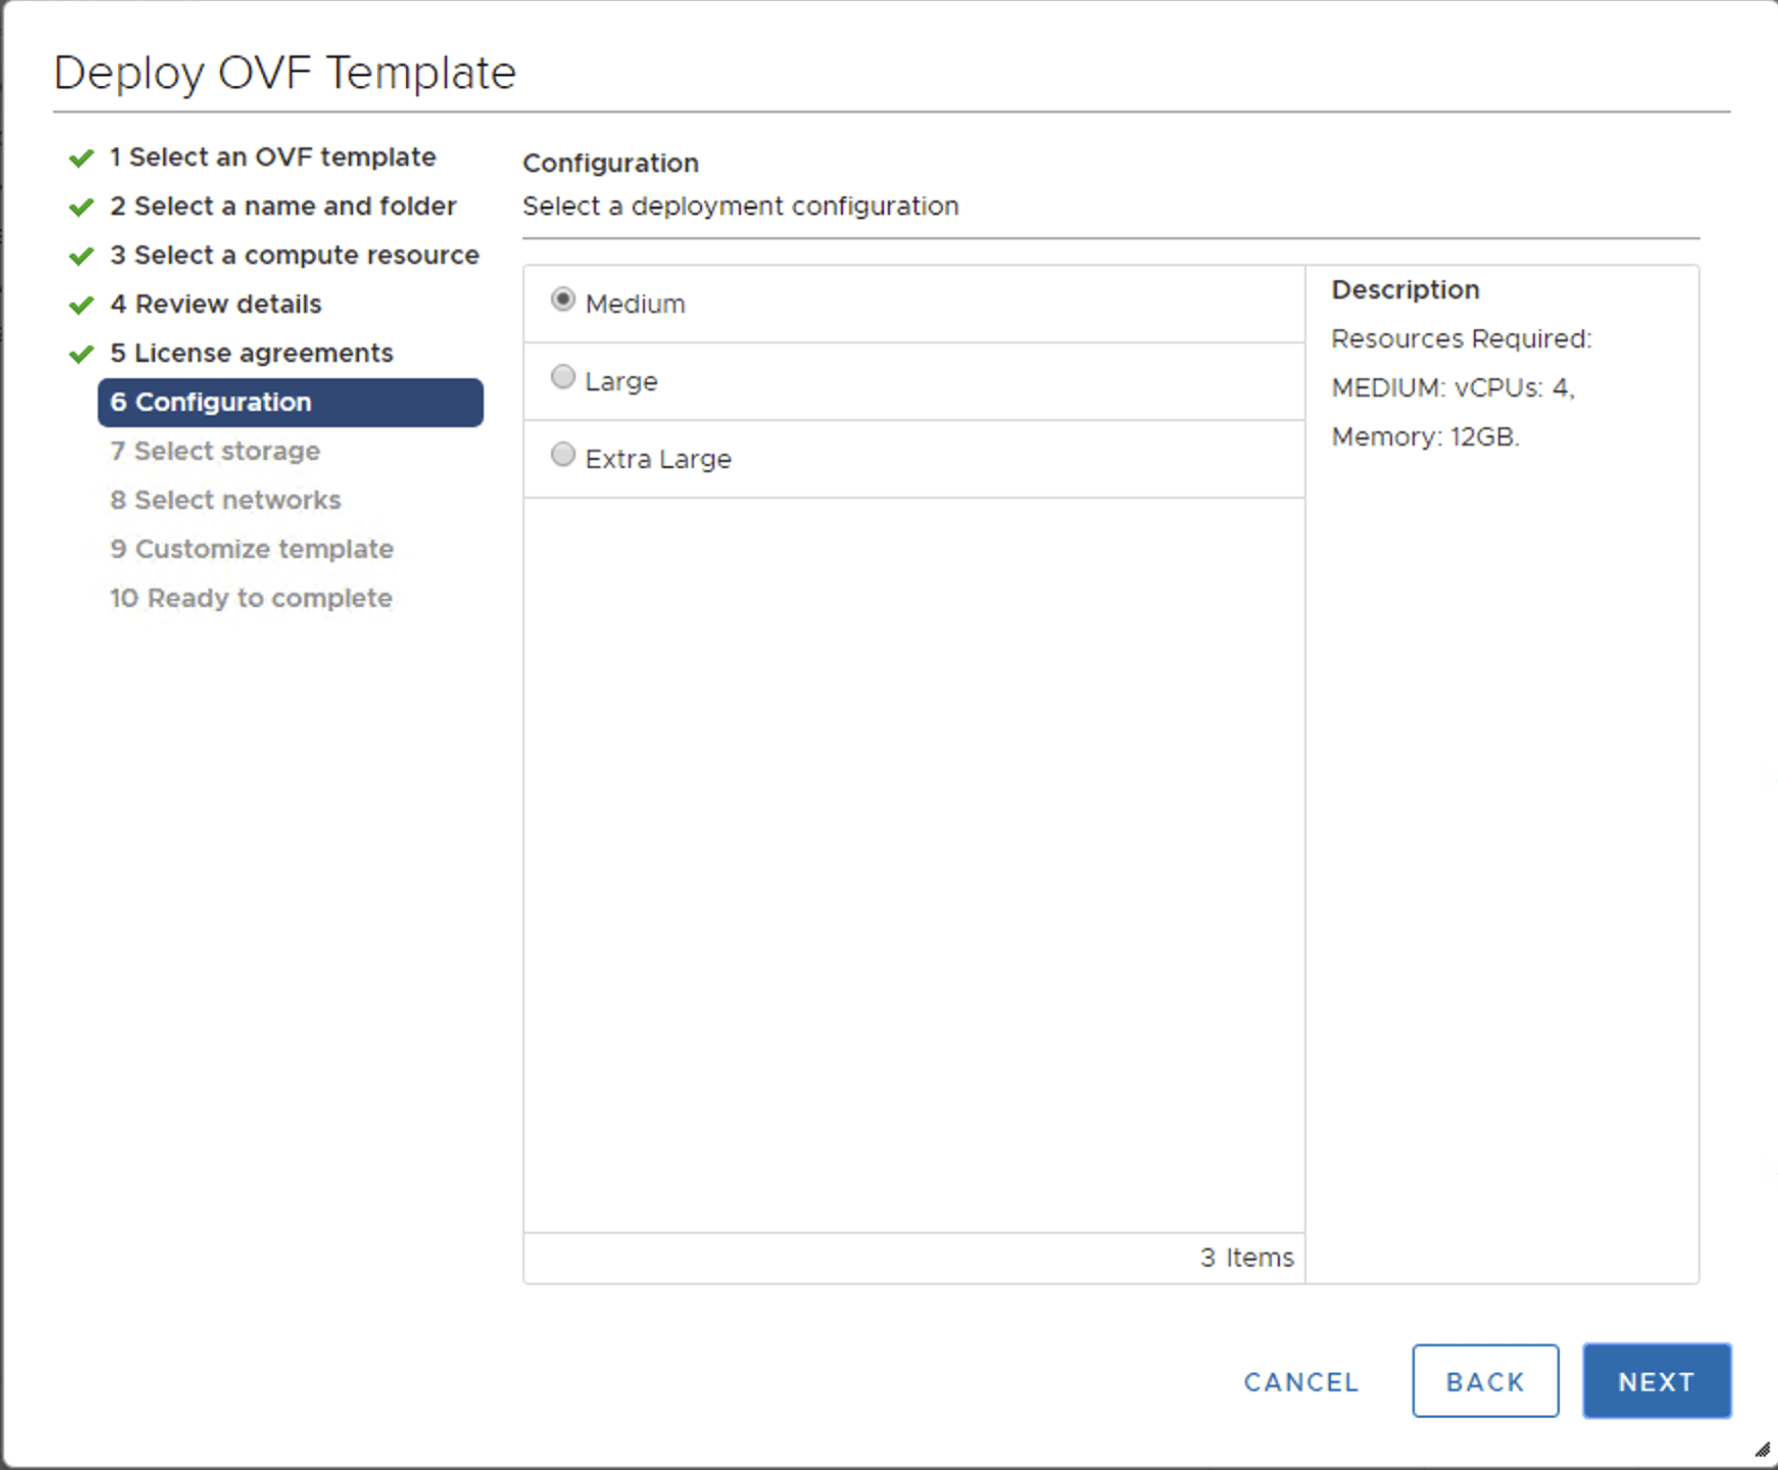
On the Configuration screen select the appropriate size for the appliance based on the amount of data you expect to be collecting. You don’t have to feel locked in on the size you choose. There is always the option to scale up or out later should you increase the amount of data collection. Reference the documentation here for how to scale out after deploying.
Since I’m deploying this in a lab environment I’m choosing the smallest sizes for everything. In this case Medium is the smallest. Click Next when you’re ready.

On the storage selection screen select the datastore where you would like the Platform VM to live and also set your virtual disk format. I typically deploy Thin Provisioned VMs to save on space in my lab. Click Next once you’ve made your selection.

On the network selection screen pick the Destination Network where you would like the Platform VM to be deployed. Click Next once you’ve made your selection.

For the customize template options you leave the defaults and actually perform these configuration options from the VM console after the initial deployment. Click Next.

Finally you should be all set to start the deployment. Click Finish if you’re all set with the settings you made.

The deployment will then start and you can monitor it from vCenter. In my nested lab environment it took about 12 minutes to complete.
vRNI Platform Configuration
Once it shows completed go ahead and Power On the Platform VM.

Open the console for the VM.

Once the console is open click in the console window, then press a key such as Enter. This brings up the Login prompt. Notice the default user login credentials are listed at the top of the console. Use those to login.

Type Setup and press Enter.

Step 1 is to set passwords for the SSH and CLI User accounts. You will need to enter each password twice.

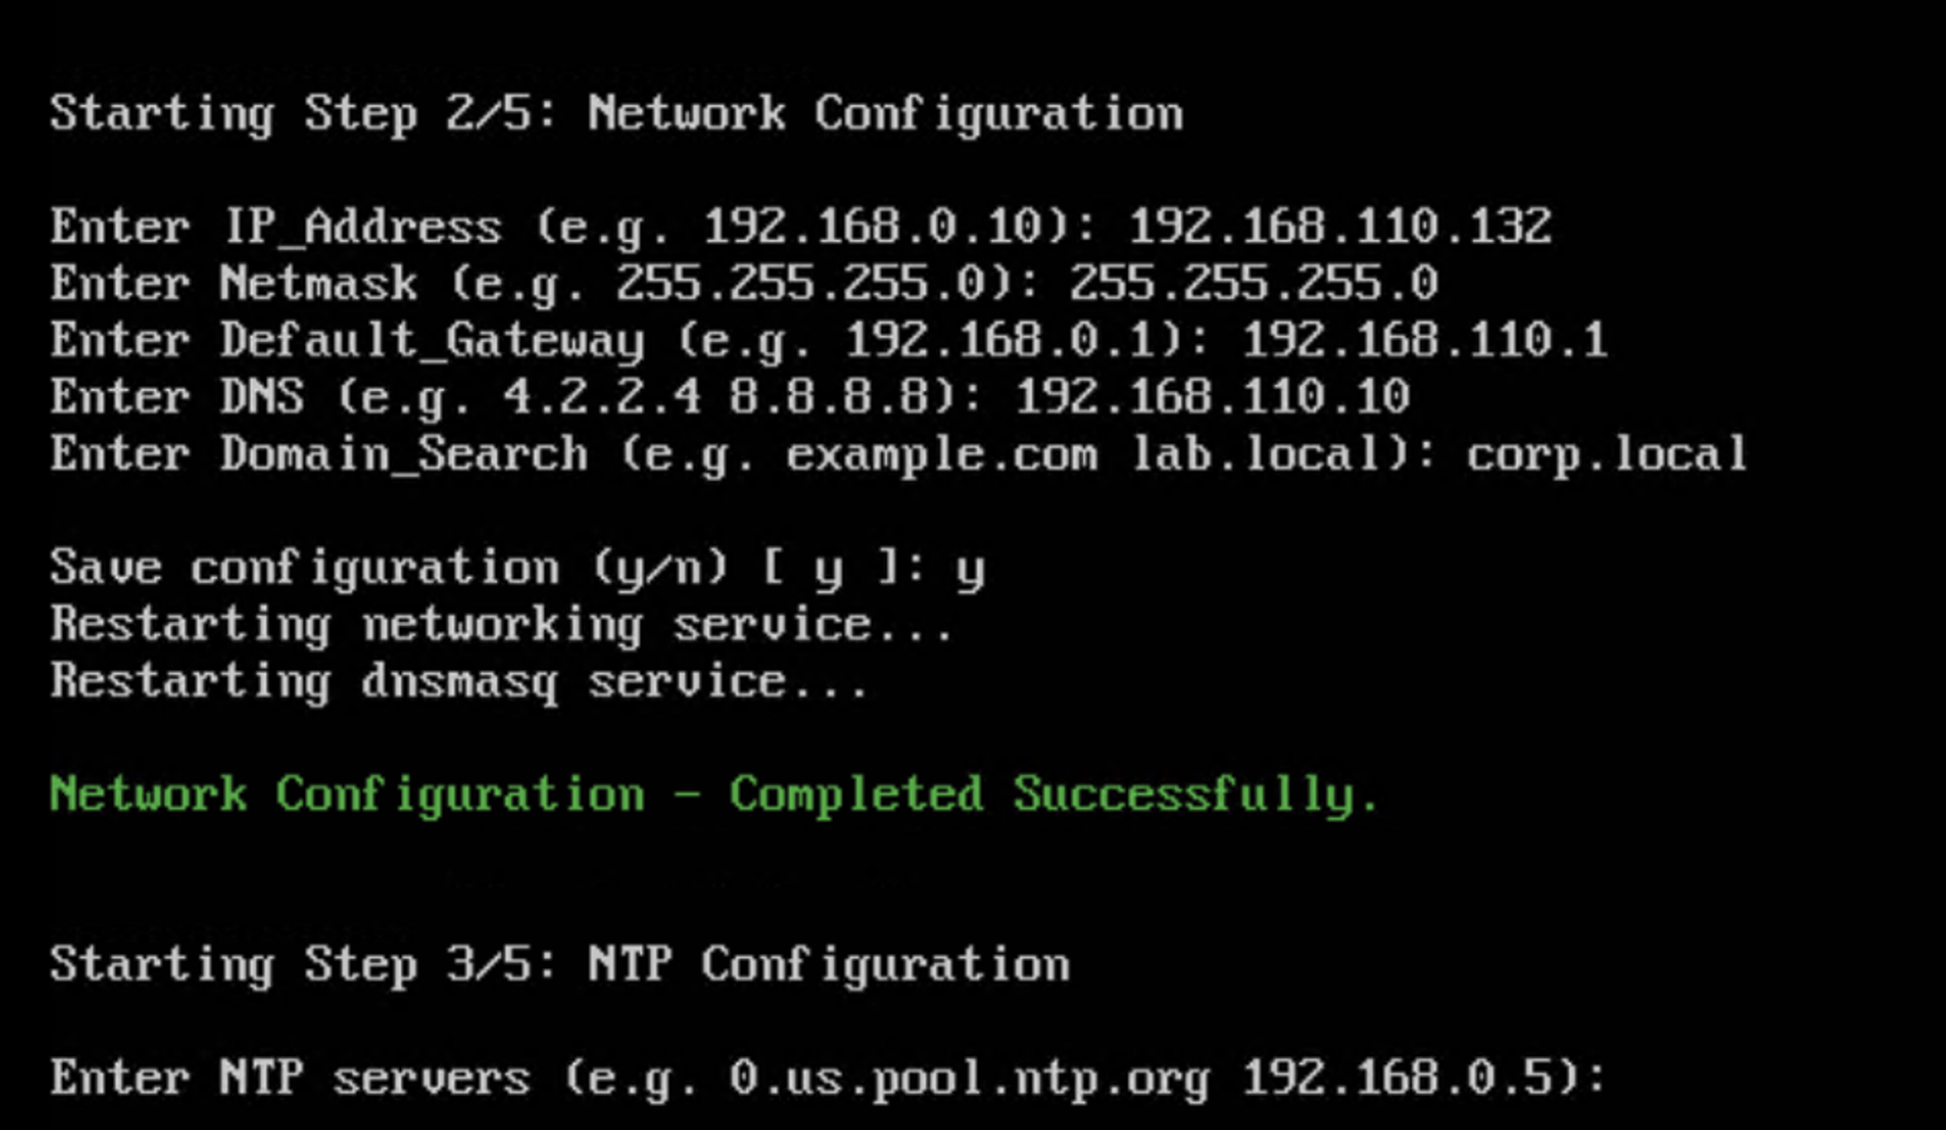
Step 2 will ask for the network details for the platform VM. This includes, IP, Netmask, Gateway, DNS, Domain Search. It will then ask you to save the configuration and you enter ‘y‘ to confirm followed by Enter.

Two services will then restart which took about 30 seconds in my experience. It should show “Completed Successfully” allowing you to move to Step 3.

Step 3 asks for the NTP servers. Either enter the FQDN or IP for your NTP server(s) and press Enter.

Step 4 is an optional step to set a Web-Proxy if your environment requires it. I did not configure it so I simply enter ‘n‘ and pressed Enter to continue.
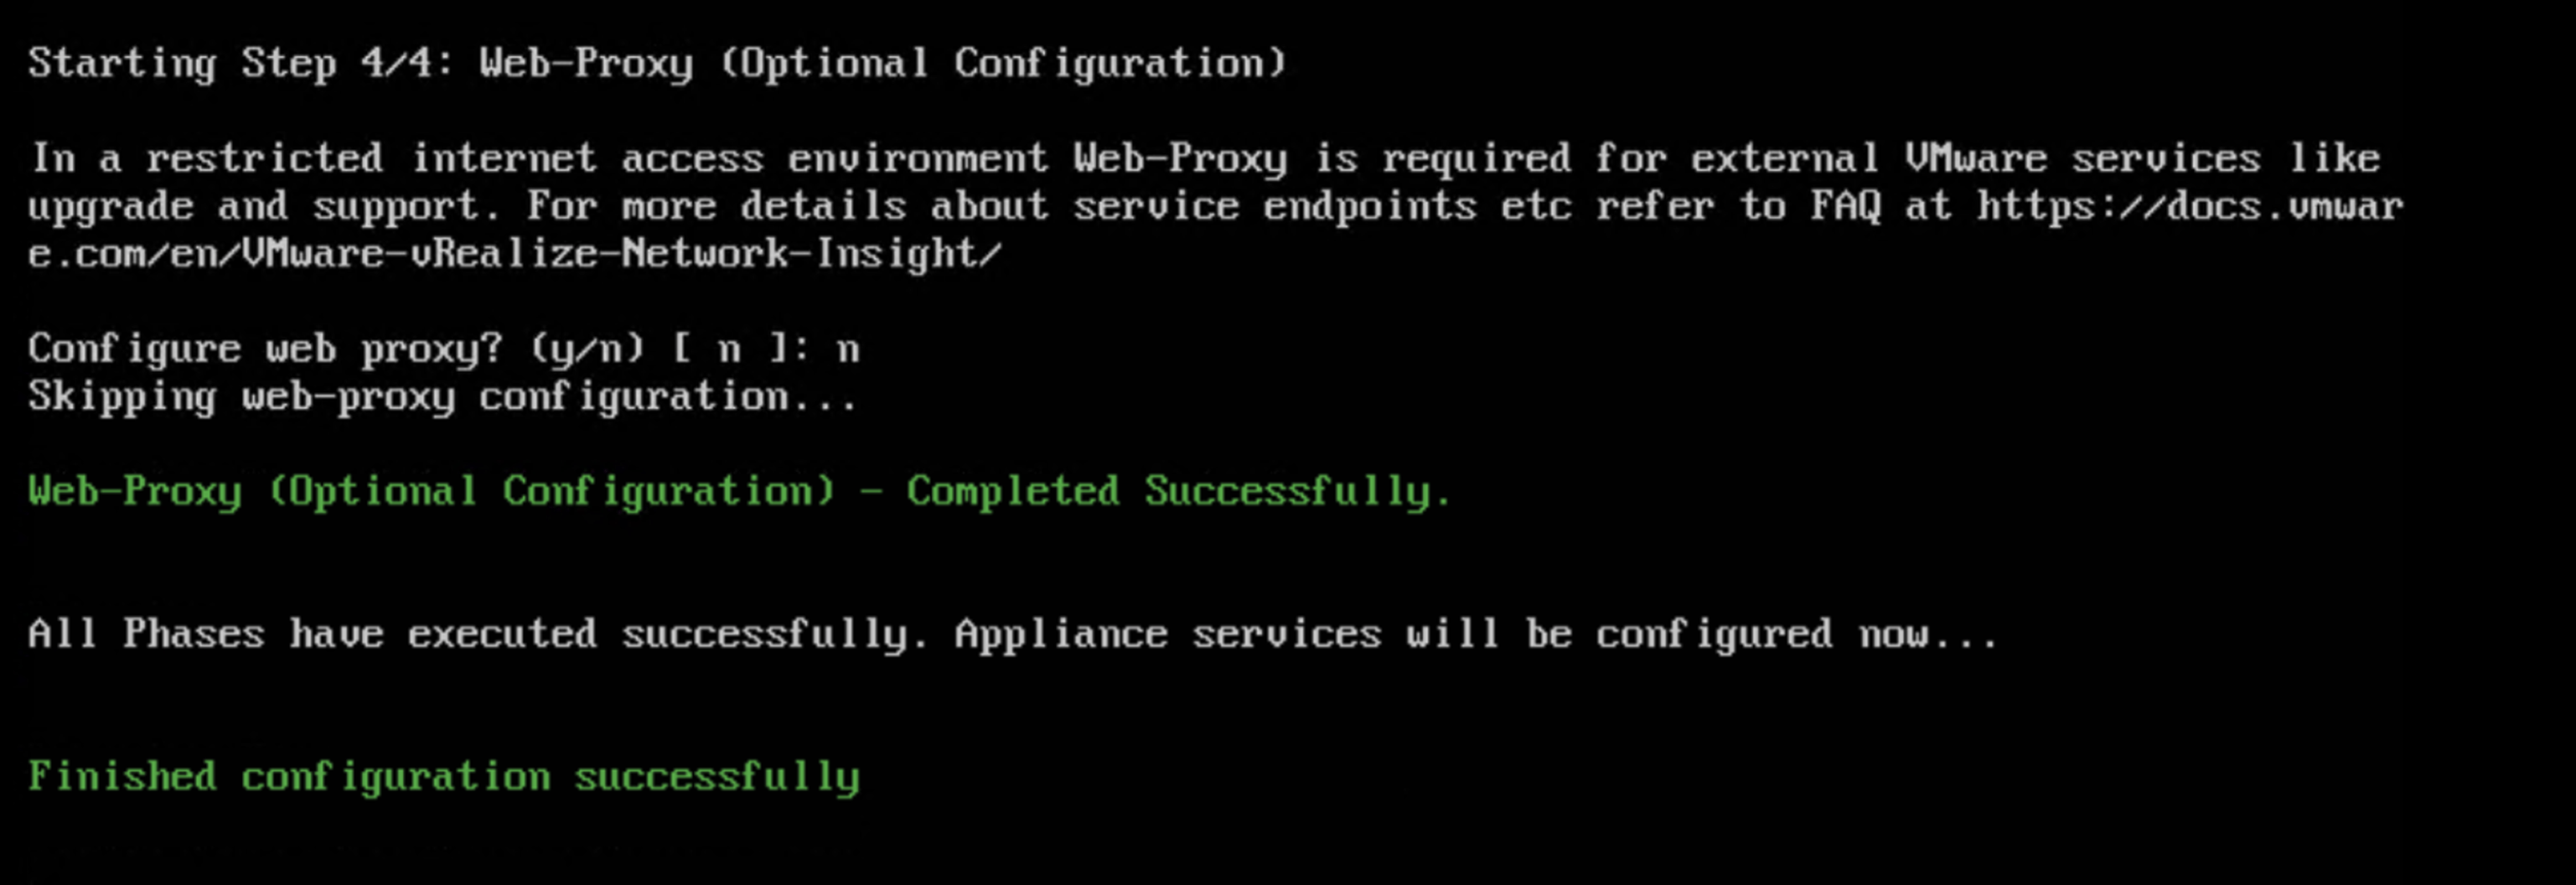
After a minute or so it ran through verifying services. Finally, it showed all services as running. There was no reboot of the appliance.

Changing vRNI Appliance Network Configuration
If you entered everything in the last set of steps correctly ignore this section and move on to the vRNI Platform Activation.
As a bonus I made a mistake with my DNS server configuration and had to go change it. Luckily it is quite easy and can be done right from the console. The command to modify the settings is
change-network-settings
The system will ask you to validate each setting and when you find the one you need to change you enter ‘n‘ and enter the new value. At the end it will ask you to save, enter ‘y‘ and this time it does reboot the appliance.

vRNI Platform Activation
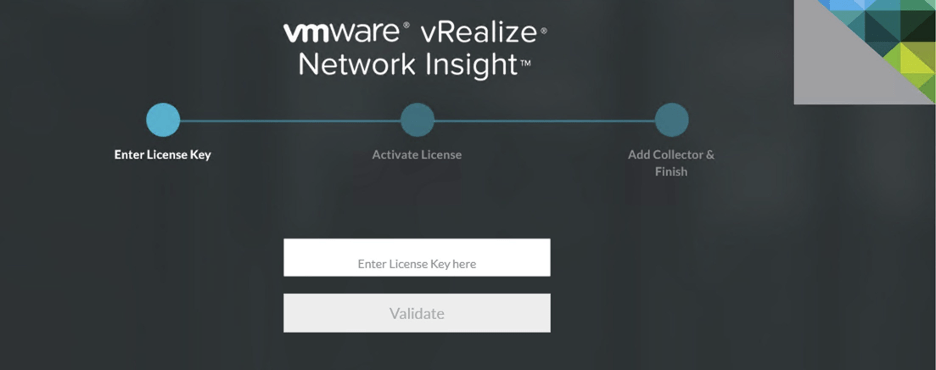
Now with the Platform VM fully deployed you need to login to the web interface by navigating to the IP or FQDN in a web browser. For me it was simply navigating to http://vrni-platform. You may receive a cert warning that will need to be accepted or bypassed.
From the web browser you will be prompted to enter the license key for vRNI.
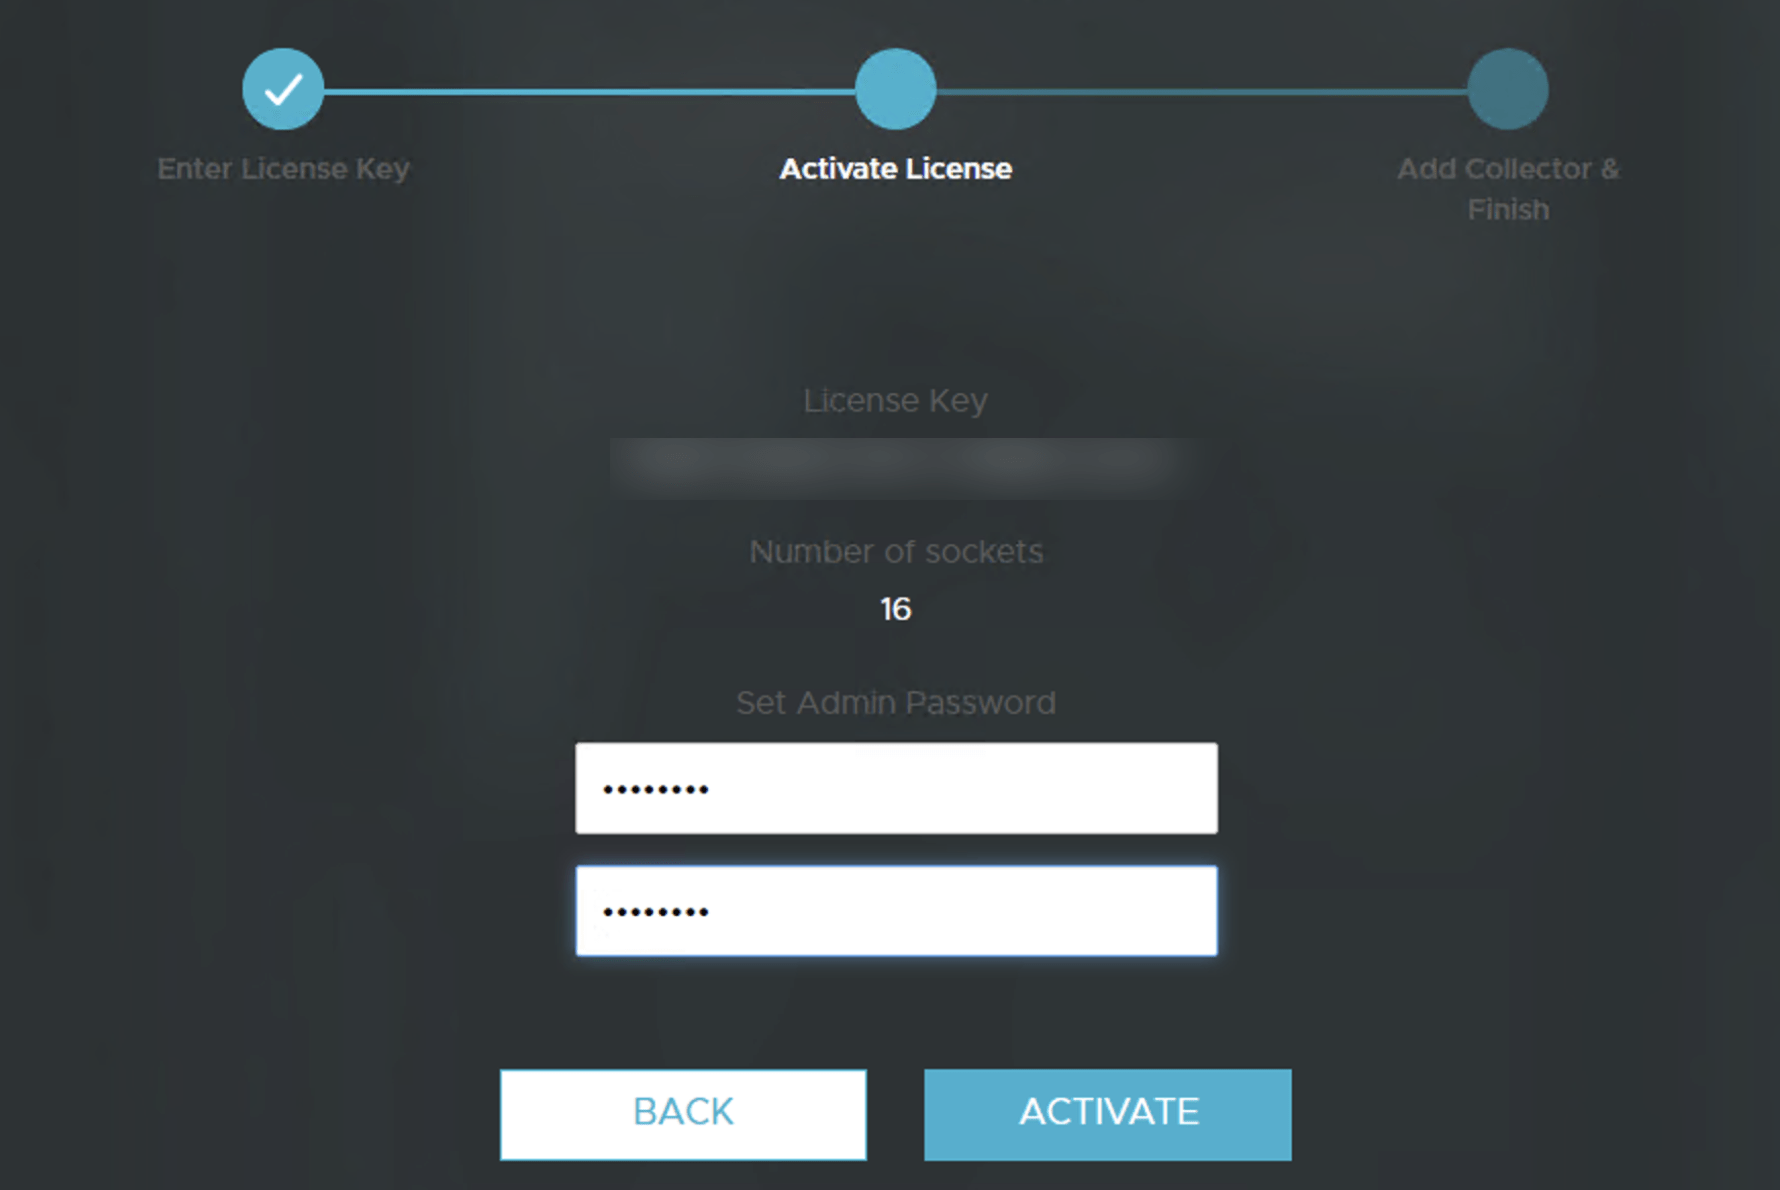
Next you can set your admin password for the web login by clicking the appropriate fields and entering the desired password. Click Activate once complete. This will be used later to login as the username admin@local.

The final step is to generate a shared secret by clicking Generate. The shared secret will be used later when pairing the Collector VM.
With the shared secret now displayed copy and save the string of text to be used later.

Installing vRNI Collector VM
The next major step is to install the Collector(Proxy) VM. For the most part it is the same series of steps outlined in the Platform VM install. If you’re comfortable with the OVA install you can probably complete it on your own. Feel free to skip ahead to where we configure the network settings from the console, although those are similar to what we performed with the Platform.
As we did before login to vCenter and select Deploy OVF Template. Choose the proxy.ova this time around.
Give the Proxy VM a new name for your environment.

Choose a compute resource to deploy to.
Review the details.
Accept the license agreement.

Select the appropriate size for the appliance. Being a lab I’m choosing the smallest, a medium.
Select a datastore and the virtual disk format, such as Thin Provision.

Choose the appropriate Network for the VM to connect to.

Here you will need to enter the shared secret previously copied from the Platform VM.

Review the configuration and click Finish.

In my lab it took about 10 minutes to complete the deployment.
vRNI Collector Configuration
Once the deployment is complete power on the VM and connect to console as we did with the platform. Use the default username and password listed at the top of the console to login.

Enter the passwords you would like to use for SSH and CLI.

Enter the network settings for the Proxy VM. This will include IP, Netmask, Gateway, DNS, and Domain Search. Services will restart briefly after saving.
Next enter the NTP server information, followed by the optional Web Proxy.

You’ll notice the Proxy VM will validate the Shared Secret before finally pairing with the Platform VM. It only took a minute or two for mine to pair. Don’t be alarmed if you see a few “not paired” messages.

If you go back to the Platform VM web page from earlier it should now show that the Proxy VM has been detected. You can then click Finish.

At this point the installation of vRealize Network Insight is complete. Both the Platform and Proxy/Collector have been installed. Now you can login and begin configuring it for data collection.
For steps to complete the initial configuration and add a vCenter server as a data source check out my next post here.
Thanks for reading!